Finding a roof leak can be a daunting task for homeowners. It can be difficult to locate the source of the leak, especially if the damage is hidden. In order to properly repair a roof leak, it is important to properly identify the source of the water infiltration. This article will provide tips and tricks for finding and fixing roof leaks.
Why It’s Important to Know How to Find Roof Leaks
It’s important to know how to find roof leaks for a few different reasons. First and foremost, roof leaks can cause significant damage to your home, as well as your wallet. Water from a leaking roof can seep into the walls or ceiling, leading to mold, mildew, and rot. Additionally, if the leak is not stopped quickly, it can cause structural damage that can be extremely costly to repair.
Another reason to know how to find roof leaks is energy efficiency. Leaks can cause heat loss, which can drastically increase energy bills. A leaky roof can also lead to ice dams, which are formations of ice on the roof that can cause more leaks as well as other damage.
Lastly, knowing how to find roof leaks can give homeowners a sense of power and control over the situation. Instead of hiring a professional and waiting for an appointment, they can inspect their roofs themselves and find any issues quickly. With the right knowledge and tools, homeowners can save both time and money.
How to Find Roof Leaks
Finding roof leaks is an important part of maintaining a home and protecting it from water damage. With the right tools, you can easily identify and repair roof leaks yourself. Here’s a step-by-step guide on how to find and fix roof leaks.
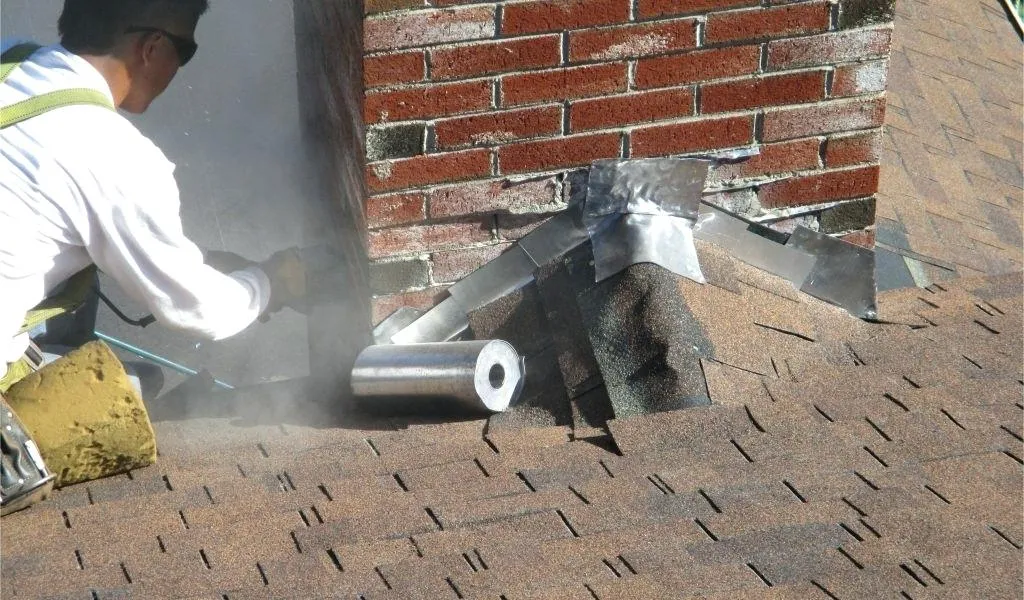
Detecting Leaks
To begin, ensure that all interior areas of your home are adequately ventilated and that all electrical appliances are turned off. Then, inspect your roof’s exterior for signs of leaks such as cracked, warped, or missing shingles, water stains, or mold. If you find any of these, the leak may be causing a problem and should be addressed immediately.
Investigate and Locate
Next, go inside your home and look for signs of water damage on the ceiling. If you find any, use a flashlight to identify the source of the leak. If you cannot find a source, you may need to use a moisture meter to determine the location of the leak.
Repair the Leak
Once you have identified the source of the leak, you can begin the repair process. Depending on the type of leak (roofing, plumbing, etc.), you may need to patch the leak with a waterproof sealant, replace a damaged shingle, or use a special adhesive to stop water from seeping in.
Prevent Further Damage
After you have fixed the leak, it’s important to take steps to prevent further damage. Re-inspect the area around the leak for more signs of damage and use a sealant to patch any cracks or holes. Additionally, be sure to check your roof periodically to ensure no new leaks have developed.
By following this guide, you can easily identify and repair roof leaks yourself. Be sure to use the right tools and make sure your roof is in good condition so that you can keep your home safe and dry.